Here we will show how to use our Rotating Proxy in the proxy software Proxifier. You can use both our Rotating Premium Proxy services (stable premium proxies) and Rotating Open Proxy (unstable public proxies) in Proxifier.
1. Proxy Authentication
Proxifier supports username/password authentication for the proxy. You can view your username/password in our client area.
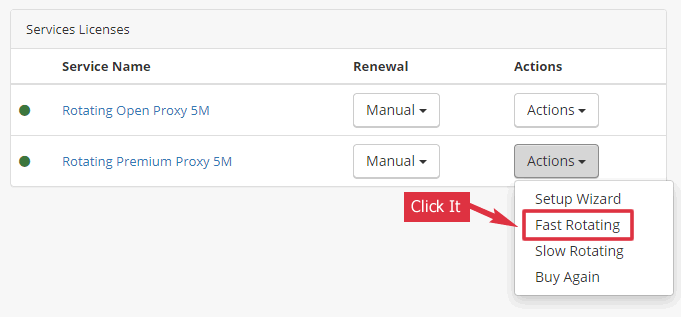
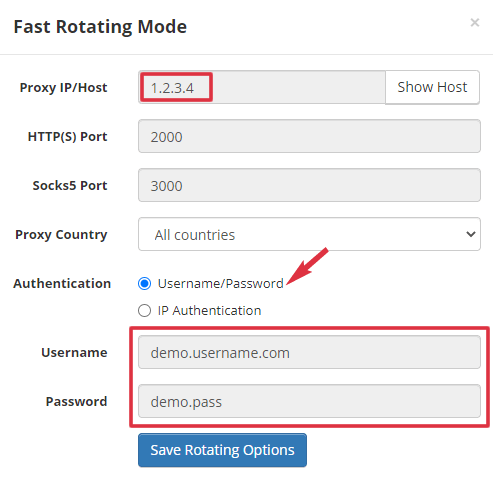
3. Proxifier Adds Proxy
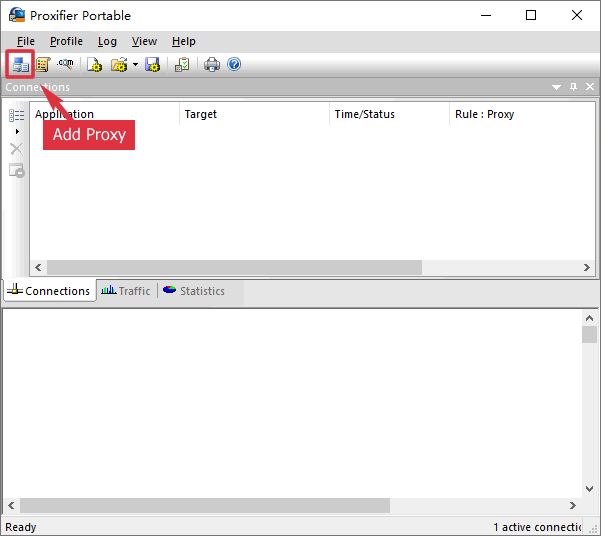
Click the “Add Proxy” button on the main window of Proxifier.
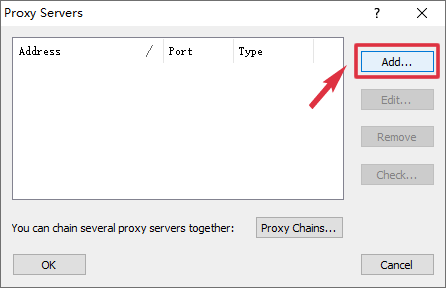
Click the “Add” button in the “Proxy Servers” dialog.
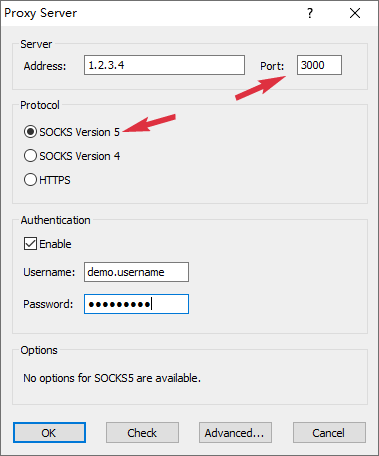
Enter the proxy username, password, IP address, and port here. You can get that information from Step 1.
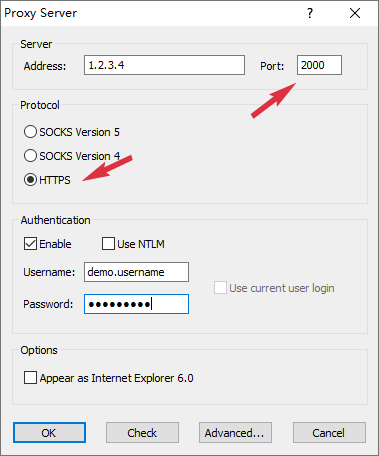
In most cases, we recommend using the rotating proxy as an HTTP(S) proxy. If you want to use it as a SOCKS5 proxy, you should use port 3000.
3. Proxifier Uses Proxy
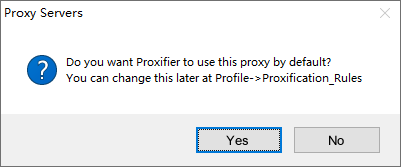
Click the “Yes” or “OK” buttons to close the dialogs. Proxifier will use the proxy automatically.
4. Proxifier Rules (Optional)
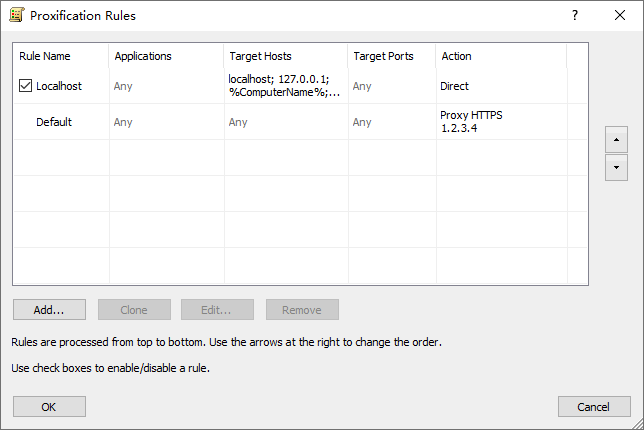
You are done now. However, you can view the rules to confirm Proxifier is using the proxy.
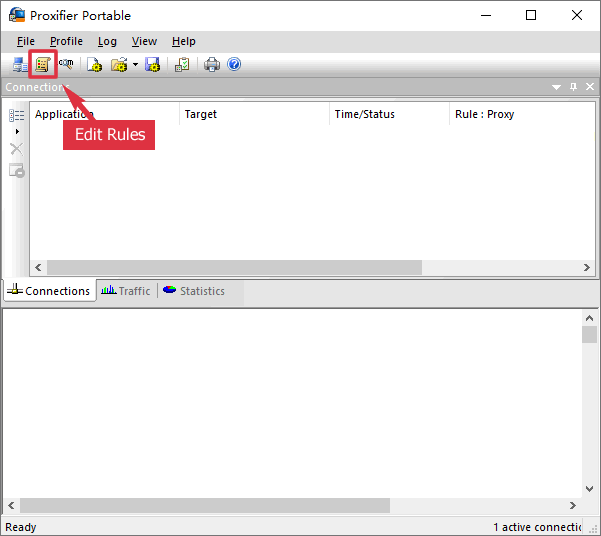
You should see that the “Default” rule is using the proxy you added. BTW, the “Localhost” rule is added automatically by Proxifier. In most cases, you should not change it.
You may ask if all the traffic is from the same IP. No. Every time Proxifier uses the rotating proxy, it will use a new IP (from the Proxy Pool) to access the target website.